Add an Attribute to a Sub Object
The Sub Objects section is used to create, view, and manage the Sub Objects in your Custom Object. Just like with the parent Custom Object, you can specify the Attributes that comprise the Sub Object.
This article assumes that you have already created the Sub Object. See Create a Sub Object for more information.
To add an Attribute to a Sub Object:
-
Select Program from the top navigation bar, then select Custom Objects from the side navigation menu. The Custom Objects screen is displayed.
-
Search for and select the desired Custom Object (see Search for a Custom Object for more information on the available search options). The Custom Object Details screen is displayed, with the Definition tab selected.
-
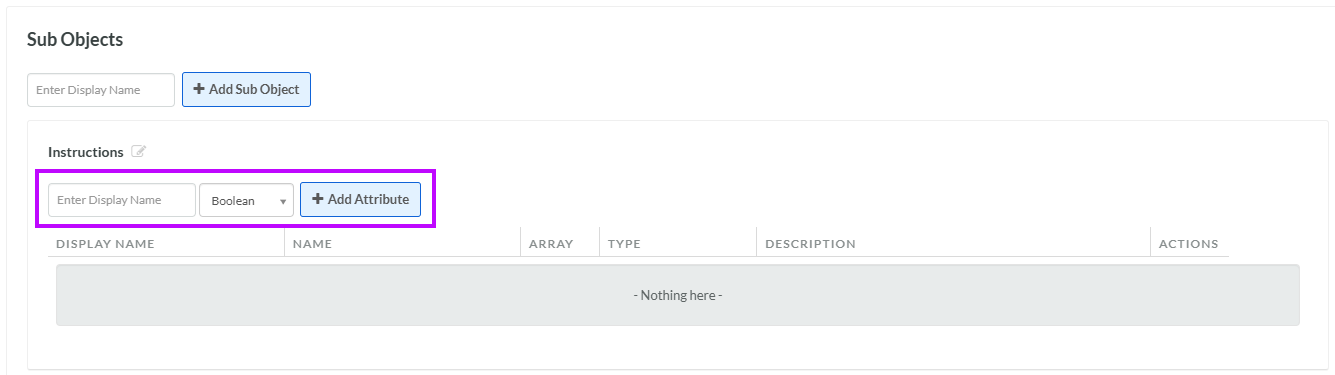
Within the Sub Objects section, within the sub-section for the desired Sub Object, enter the name of the new Attribute in the Display Name field.
-
From the Data Type drop-down menu, select the Data Type of the new Attribute.
-
Click Add Attribute. The Edit Attribute pop-up window is displayed.
-
The Display Name field is populated with the value you entered above; optionally edit this value.
-
The Internal Name is automatically populated based on the Display Name value. This field is not editable by default. To edit the Internal Name, check Edit Internal Name. A confirmation dialog box is displayed; click Ok. Edit the Internal Name value.
-
Optionally, in the Description field, enter a description of this item.
-
The Type drop-down menu is populated with the Data Type you selected above; optionally edit this value.
-
Optionally, check Array to make an array-type Attribute that can store multiple values in the same field.
Note: The Show in List feature has been deprecated and is no longer supported. The Code value is generated by the system and can't be edited.
-
Click Save. The platform adds the new Attribute to the list of Attributes.